D-Day trip with WWII area Leica

The Braves – Omaha beach

Last holidays, I organized a mini trip with my family to the Normandy landing beaches used by the allies during D-Day. This is a quite common thing for French people, but I never had the opportunity to bring my son there neither my wife who is quite reluctant with anything war related.

Omaha beach memorial

The D-Day beached area is actually quite wide and there are plenty of sites to see. We had a bit of limitations for various reasons and I wanted not to overwhelm everybody. Factor in that the weather is not great in Normandy in February, so I had to cut short on my bucket list.

The west side of Omaha beach

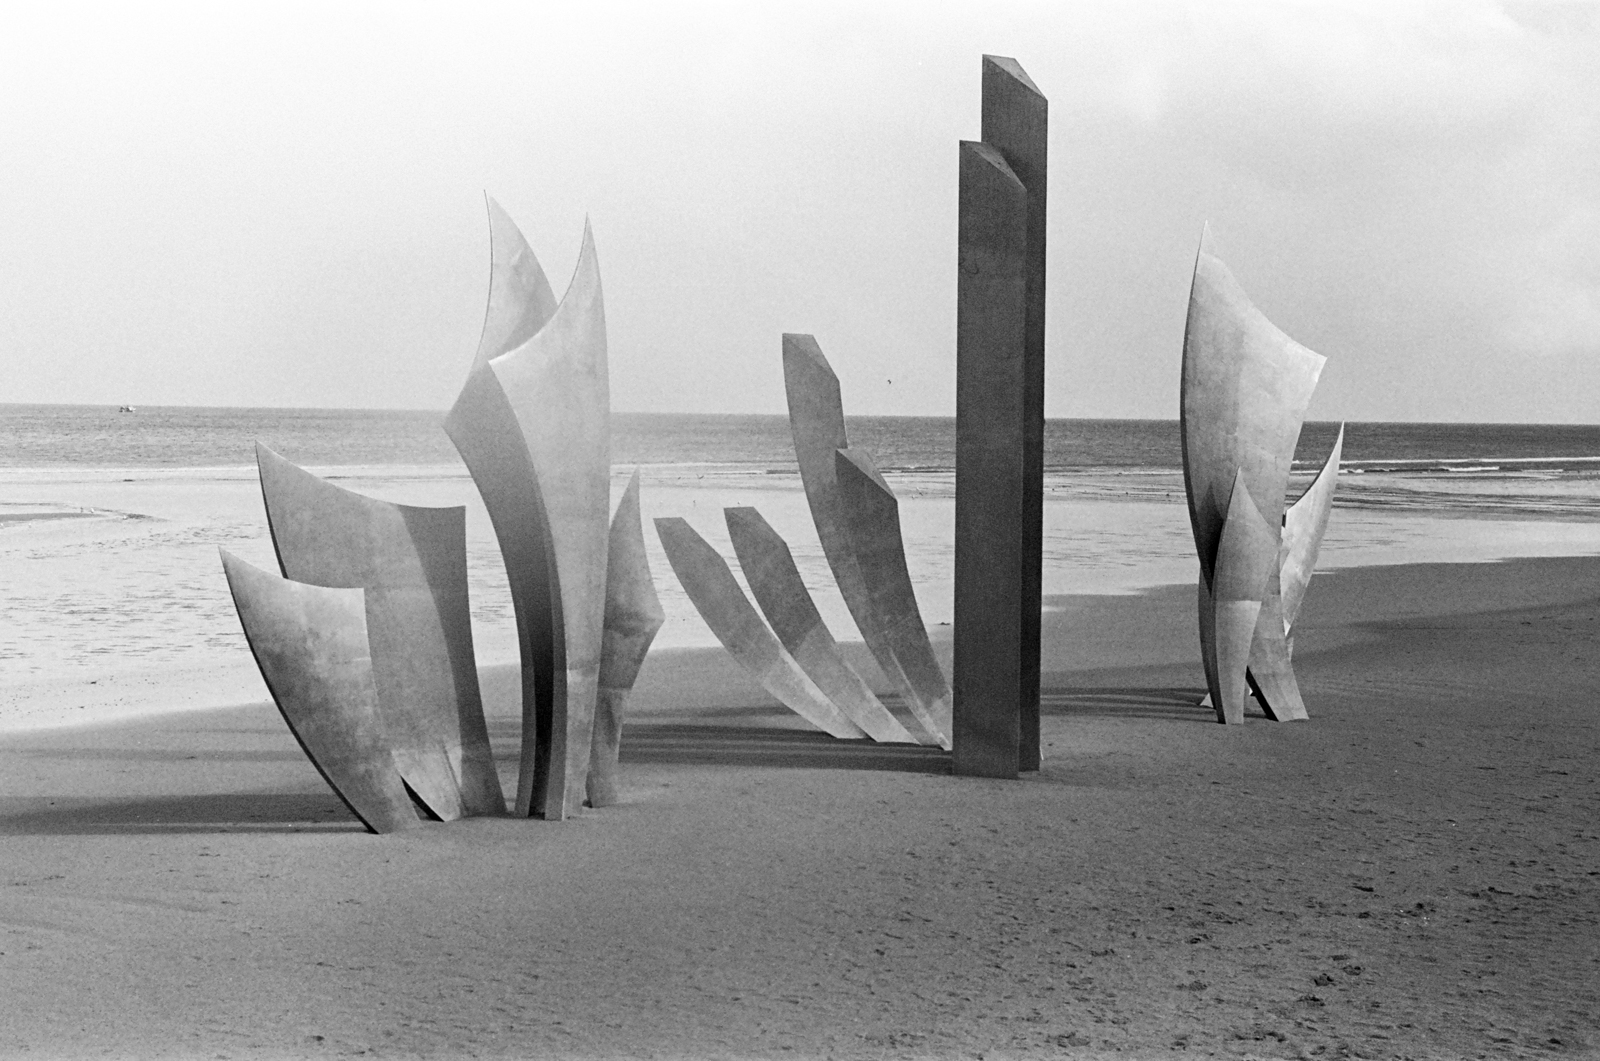
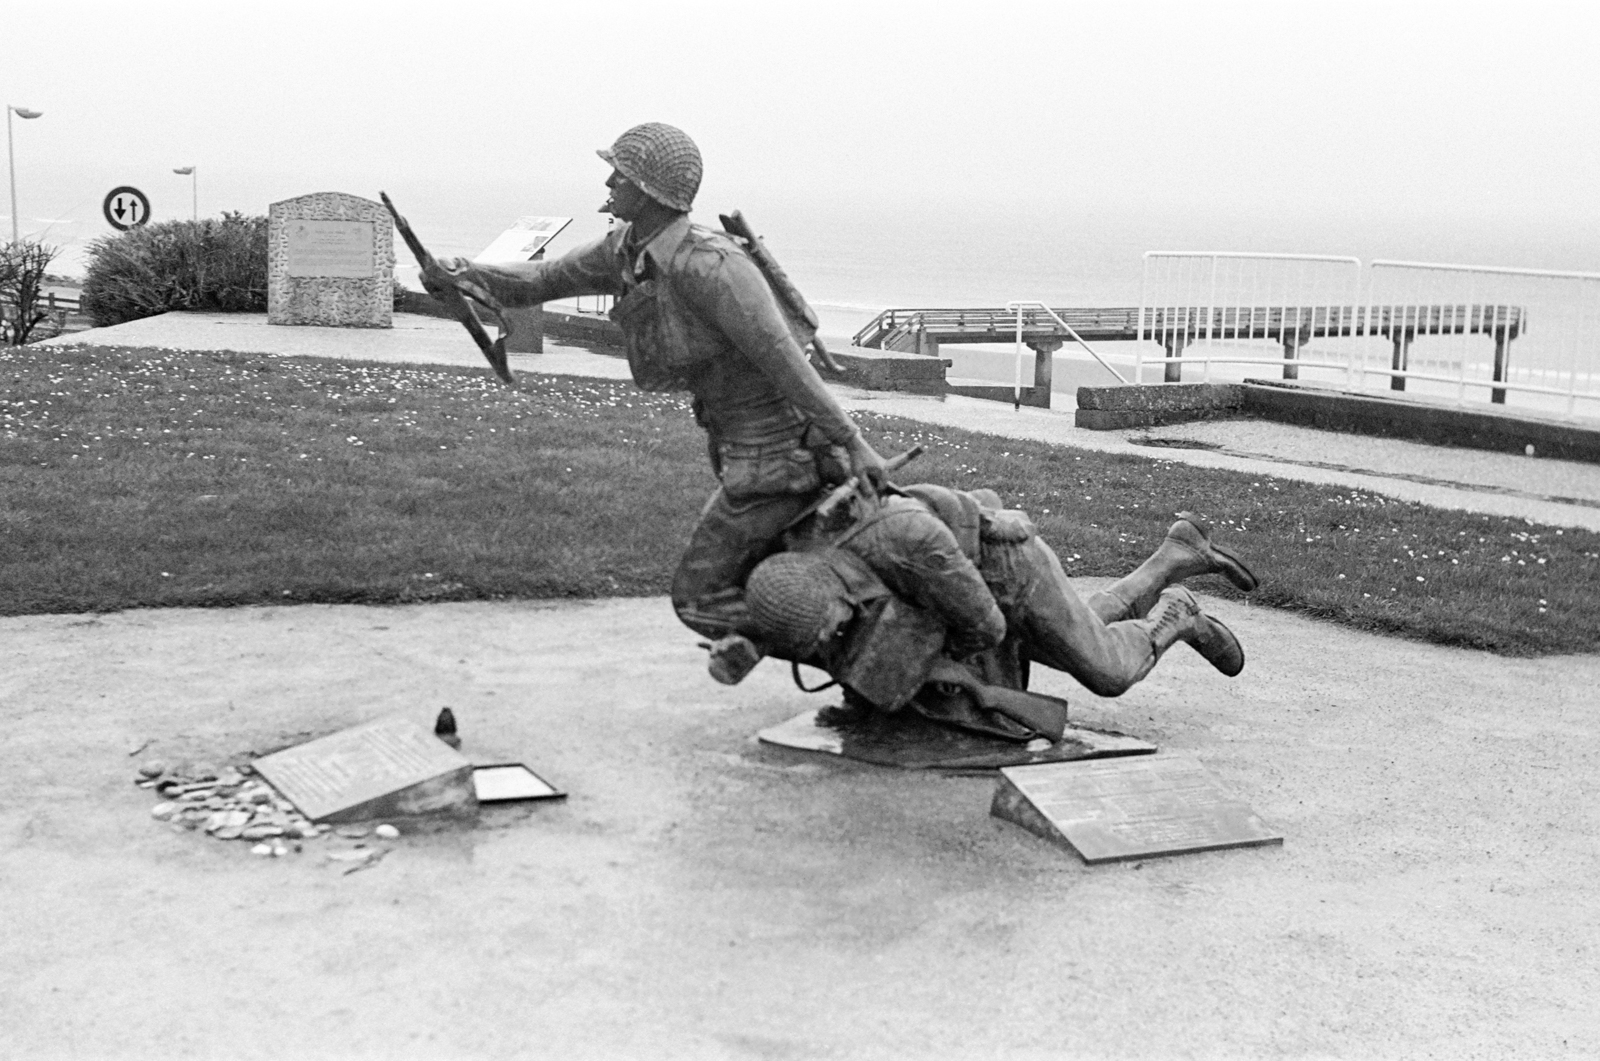
I thought it would be a good tour to include Omaha beach, one of the most well know areas. The beach is kilometres wide, and I was mostly looking to picture the new sculpture “The Braves” that was added to the old memorial some 10 years ago.

A bunker.

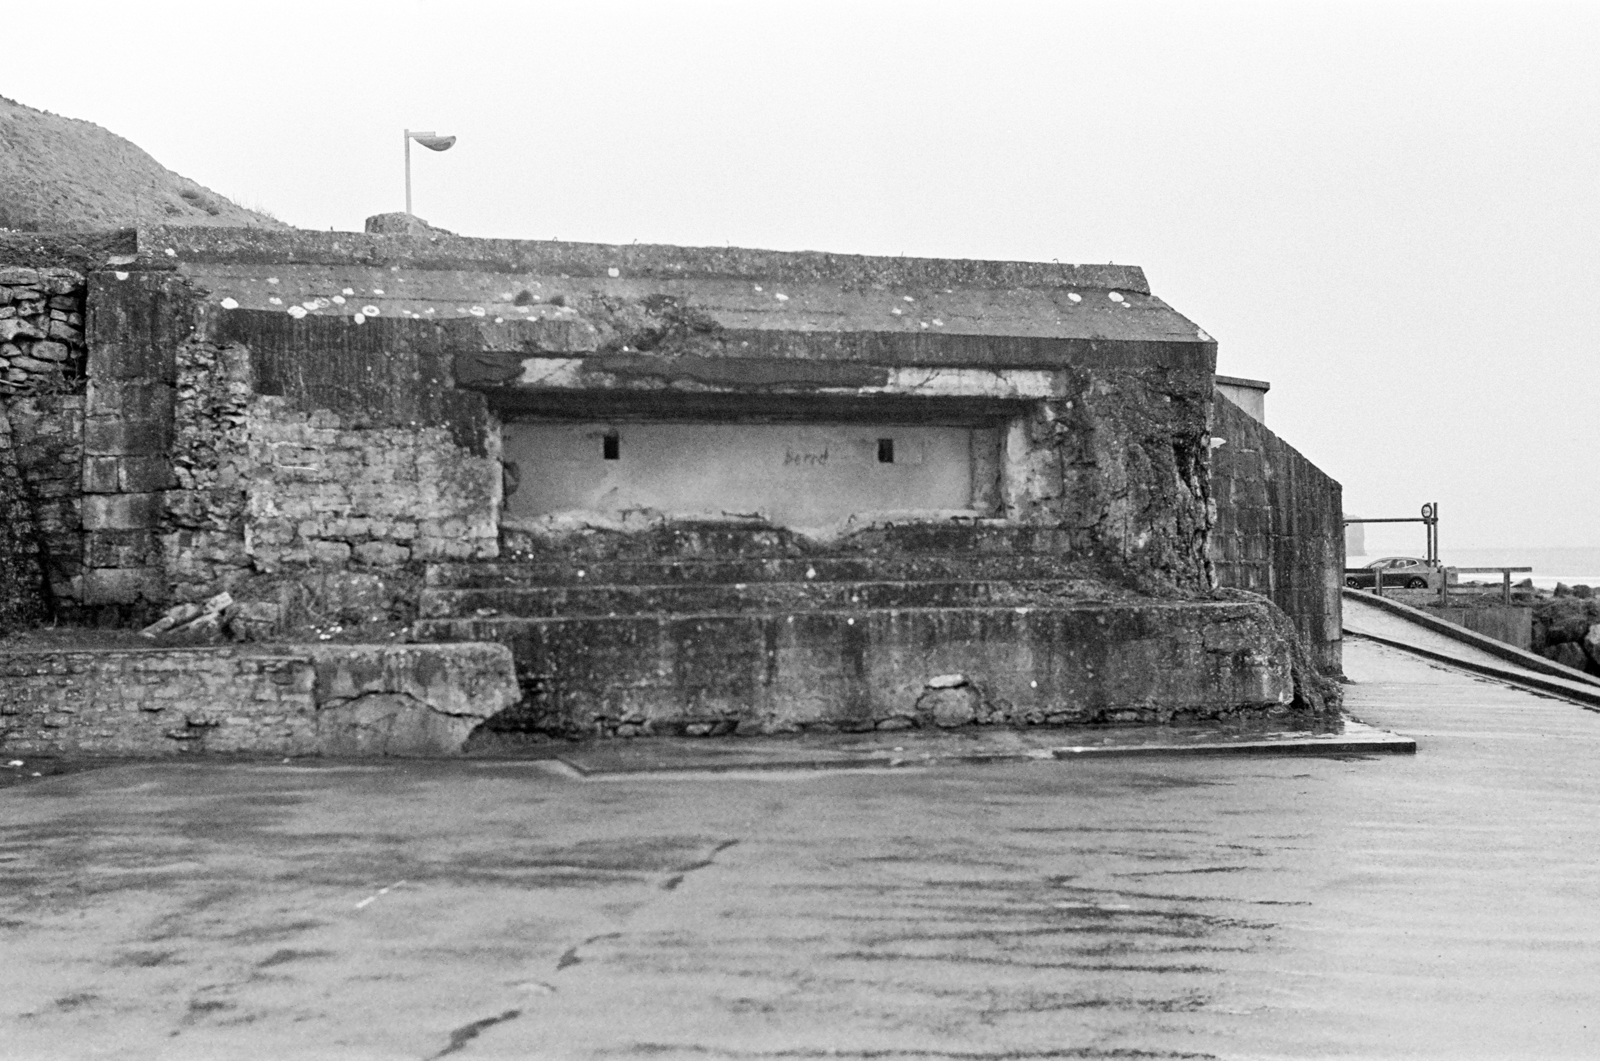
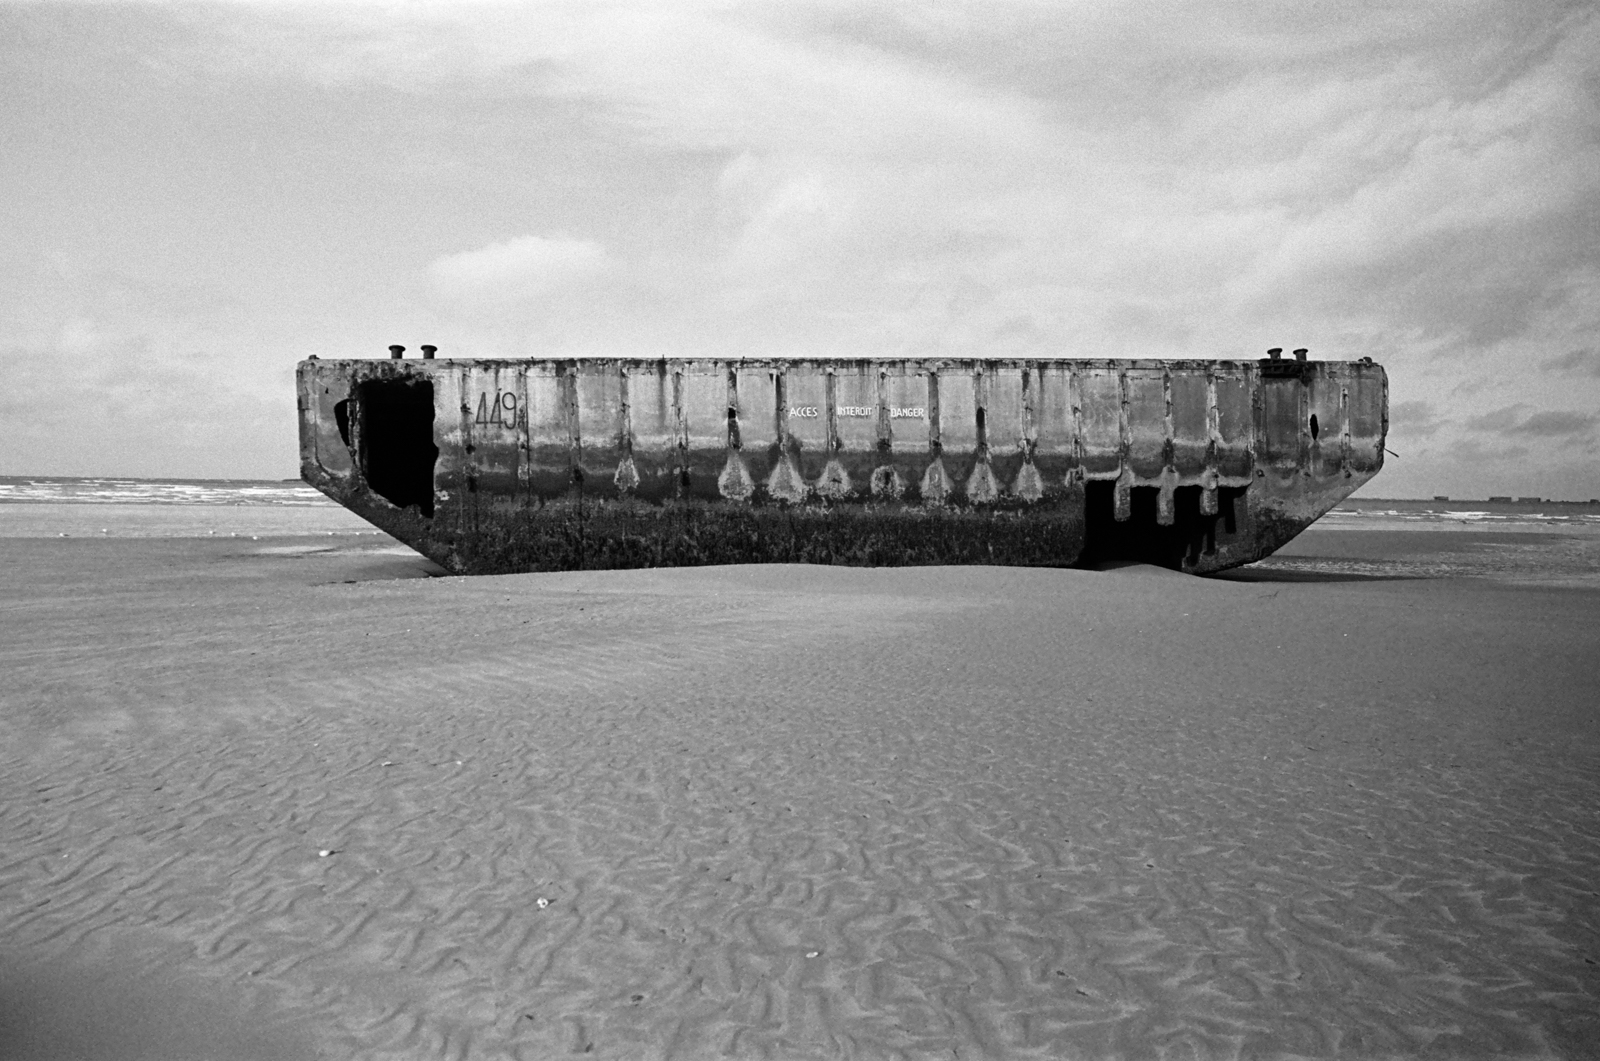
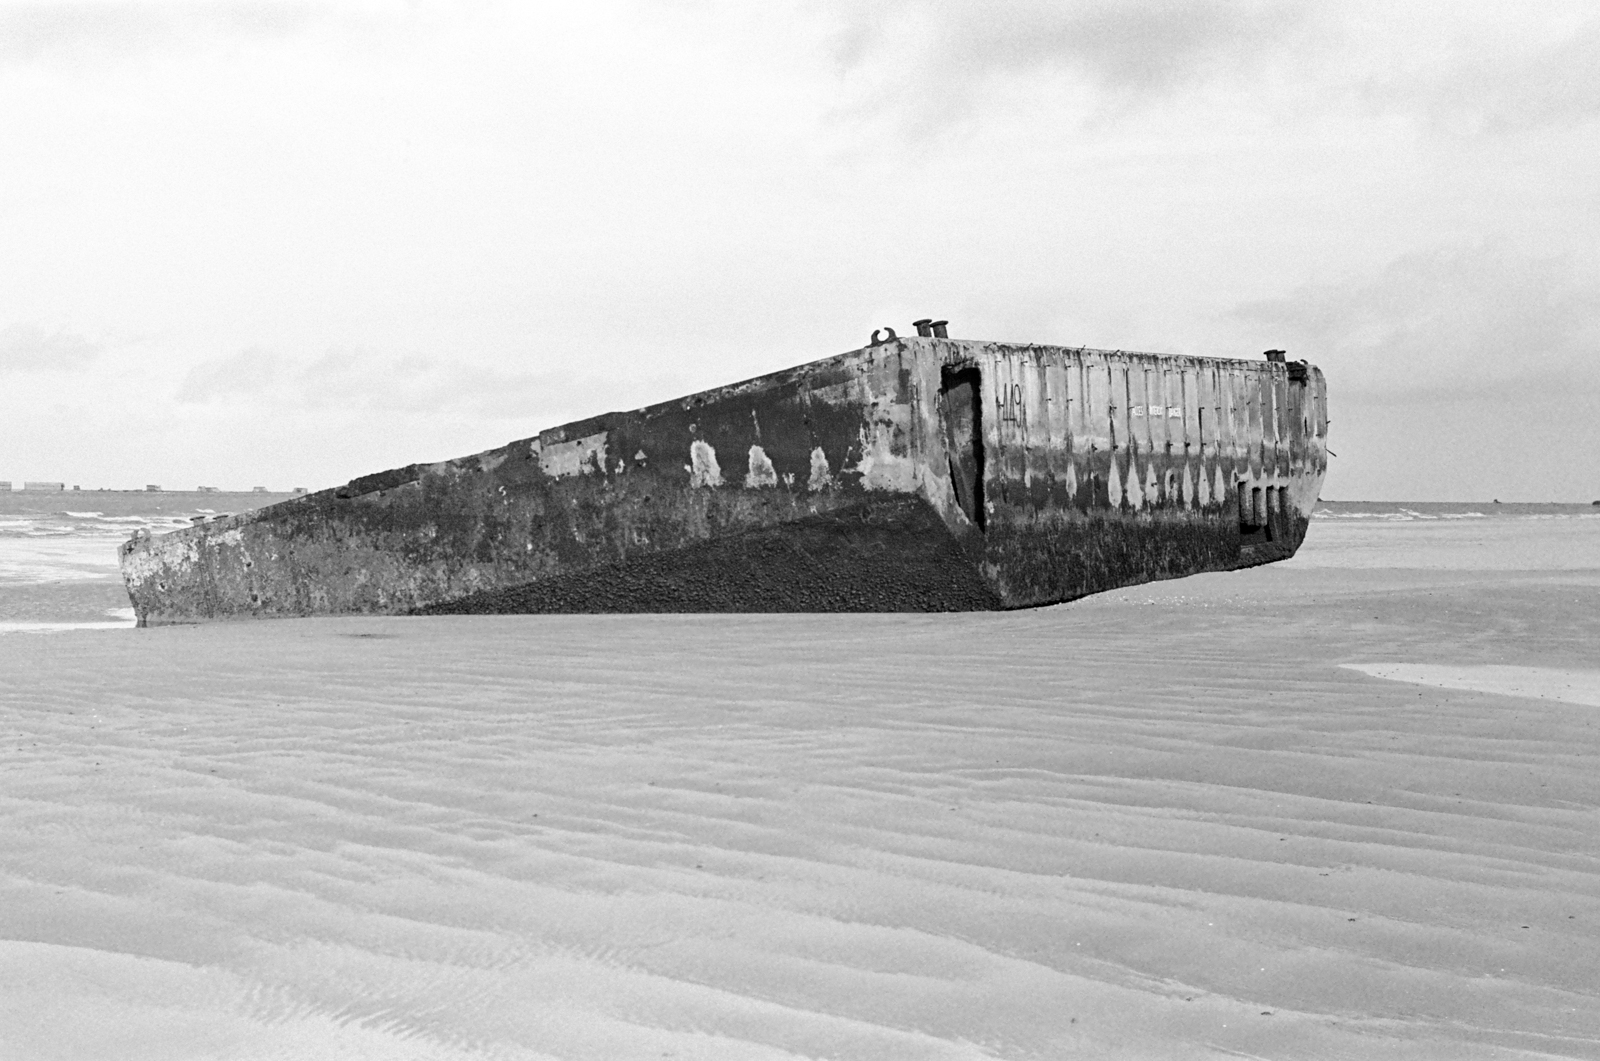
Of course we landed ( that’s an easy one ) on the wrong side of the beach, but I found the bunker above ( bucket list ticked).

Omaha beach National Guard Monument

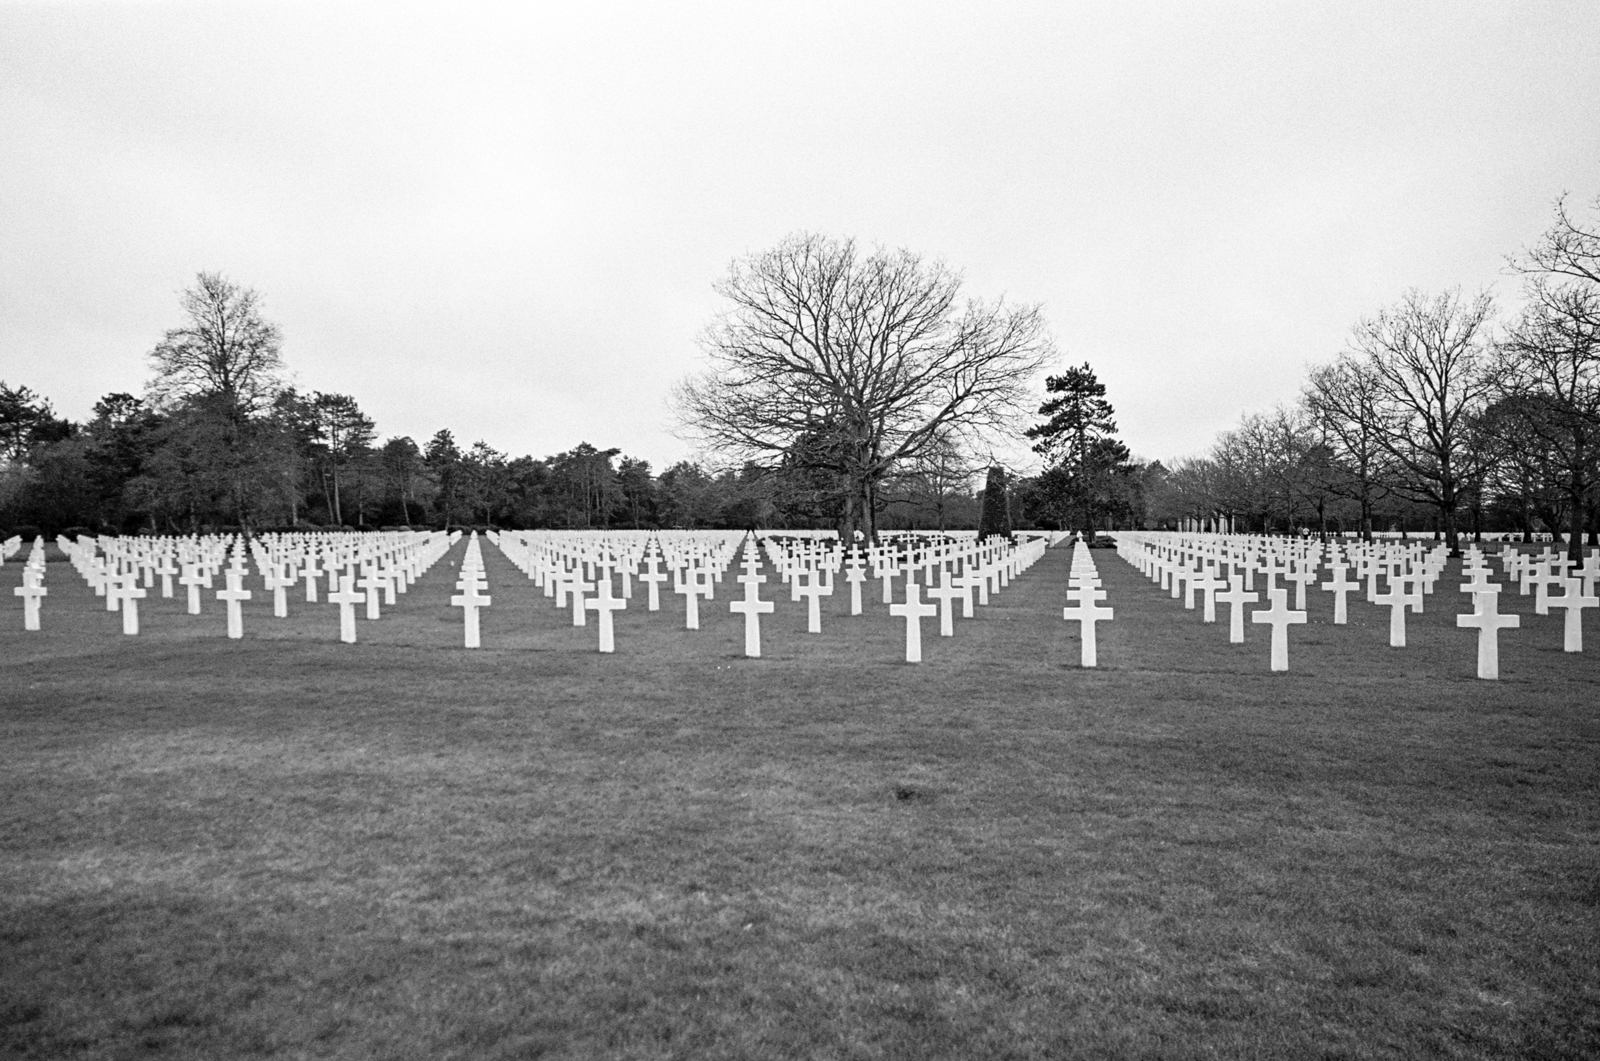
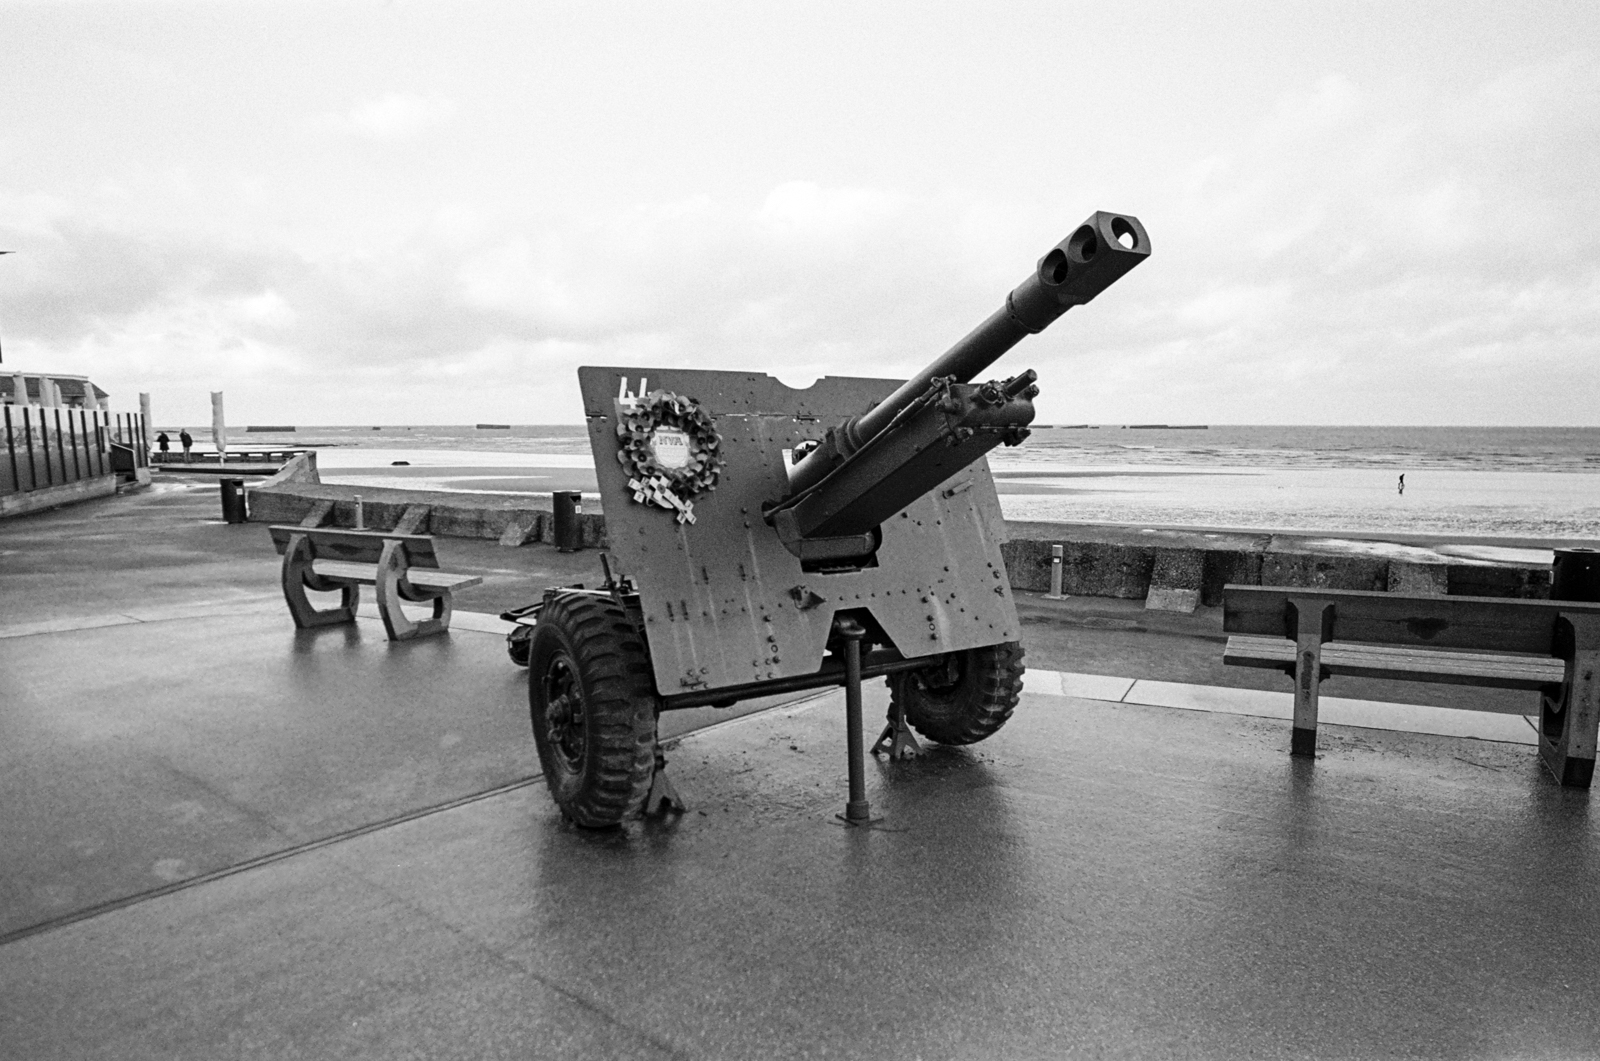
My next stop was the American Cemetery of Normandy in Coleville sur mer. An understandably sad place.

American Cemetery of Normandy – 21mm View

There is a museum at the entrance which is very interesting, I have not visited the one in Arromanche which is supposed to be very good as well so I cannot compare.

American Cemetery of Normandy – 50mm View

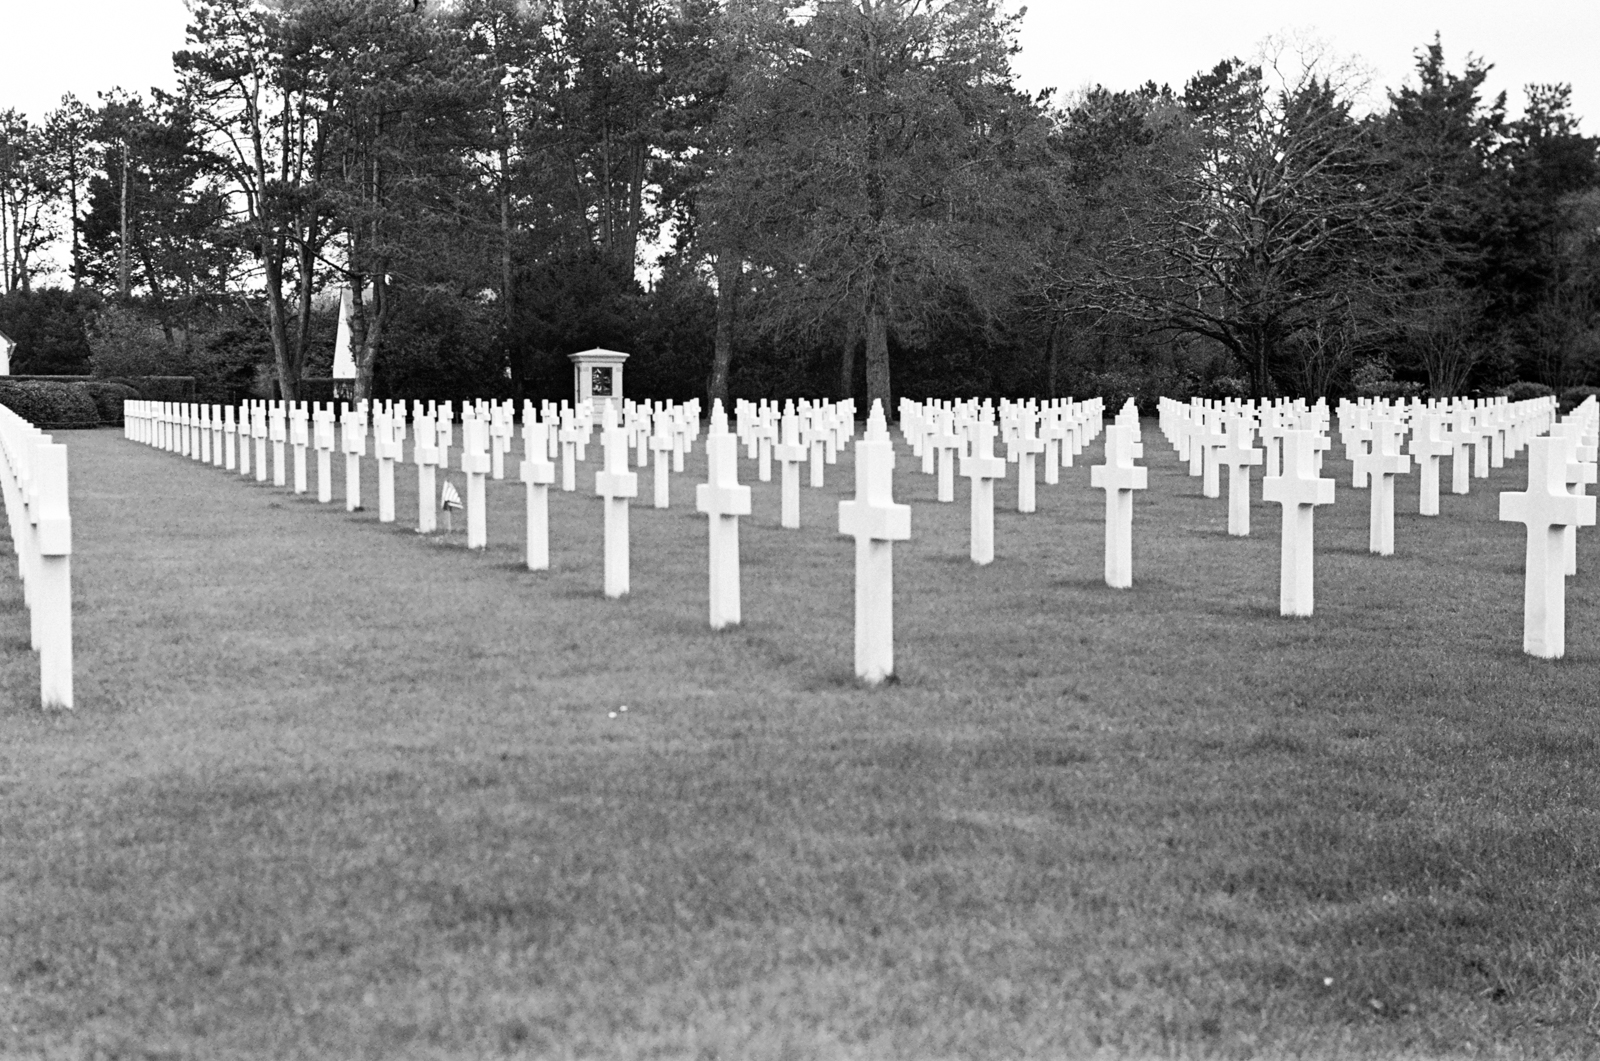
Second tick box of my list. There are sadly many military cemeteries in Normandy, I remember being very impressed by the German one in La Cambe when I visited it as a teenager.

Remains of Arromanche artificial harbour

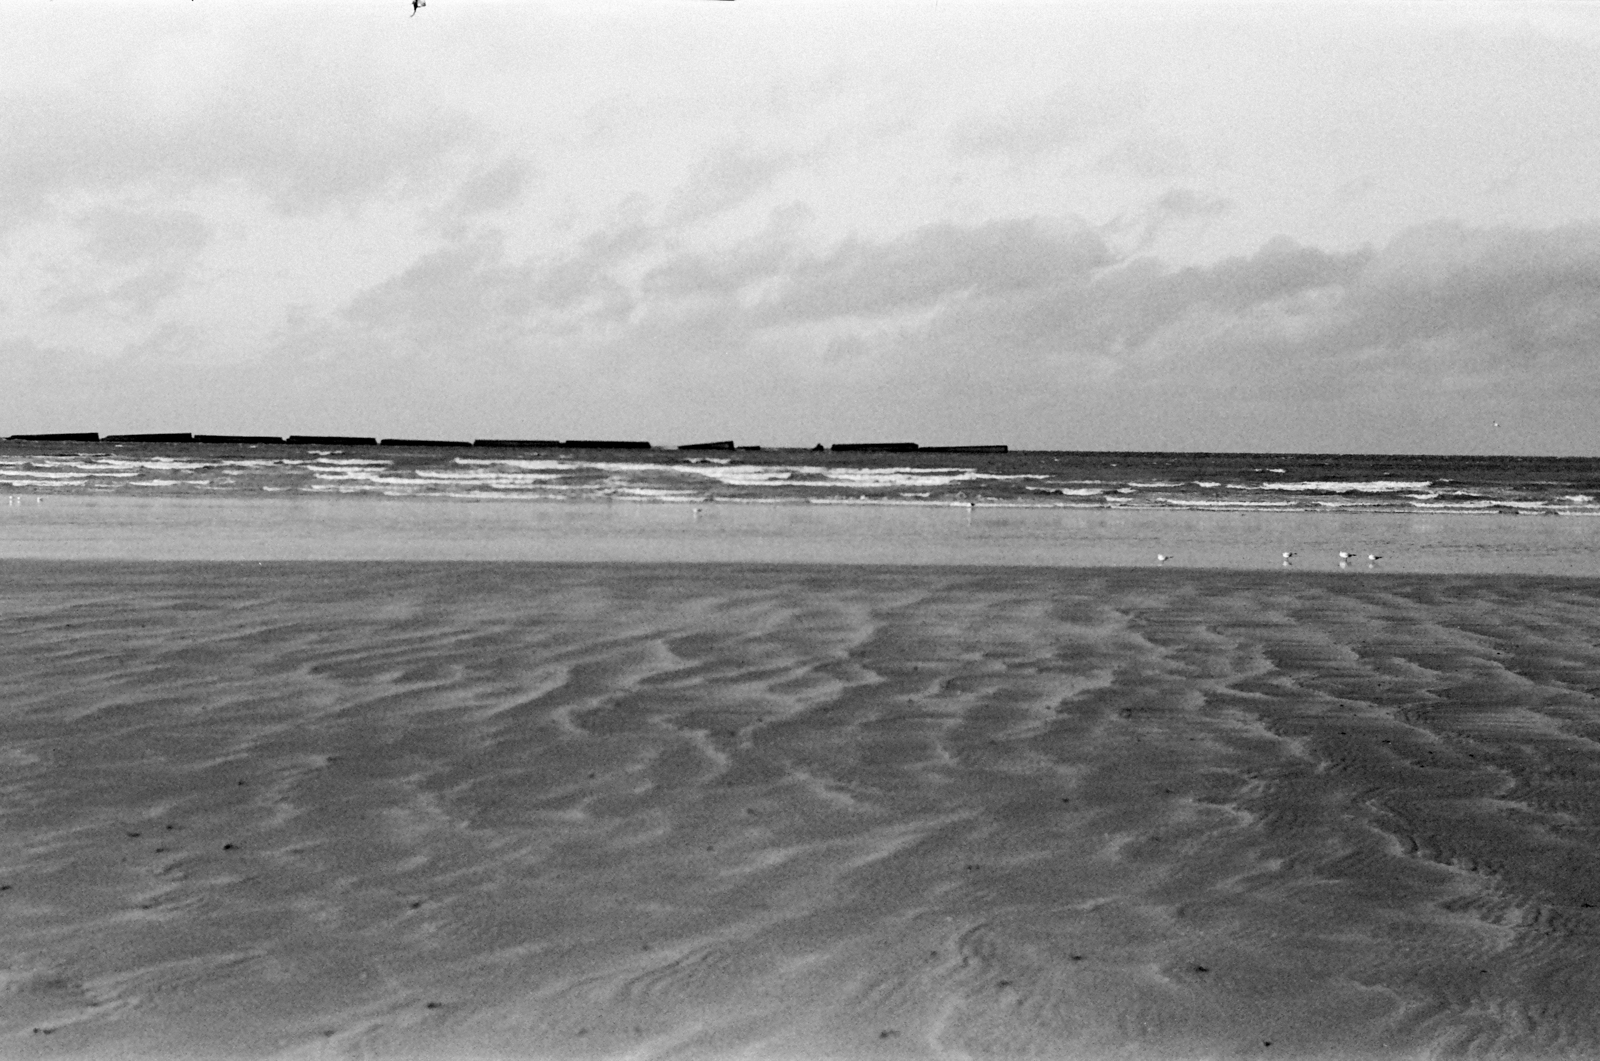
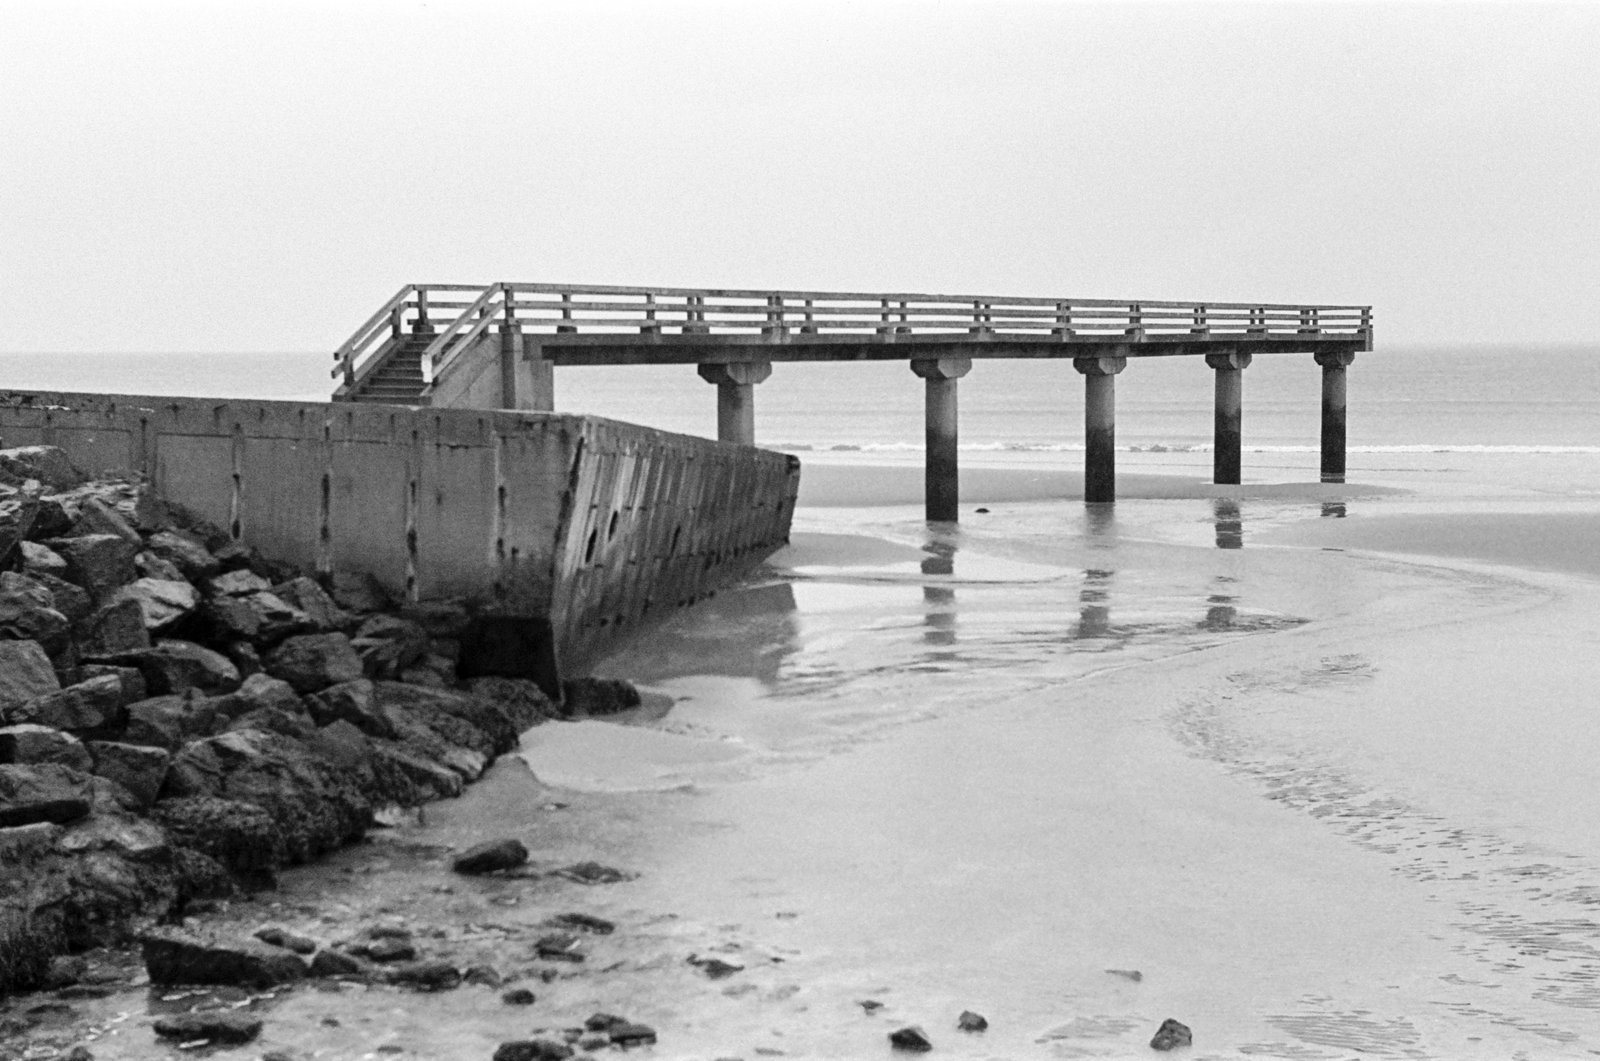
Third thing I really wanted to visit was the artificial Harbour of Arromanche. It is hard to fathom that nearly 80 years later the concrete cubes used to create a practicable arbour for the allies are still here ( not all of them of course). This is an testimony of the incredible D-Day adventure if needed.

A concrete element of the Harbour

One element of the Harbour that can be approached at low tide, so I planned my visit timely.

As I mentioned above, Arromanche sports a museum that reopened last year but was originally built in 1954.

The museum is well guarded

At that point we had to head back to our base in Deauville. That was quite a full day, a couple of things I wanted to see that I did not manage : some big batteries and bunkers before reaching Arromanche, the German cemetery mentioned before, Utah beach where you can find well preserved bunkers and some planes.

Bunker in Etretat

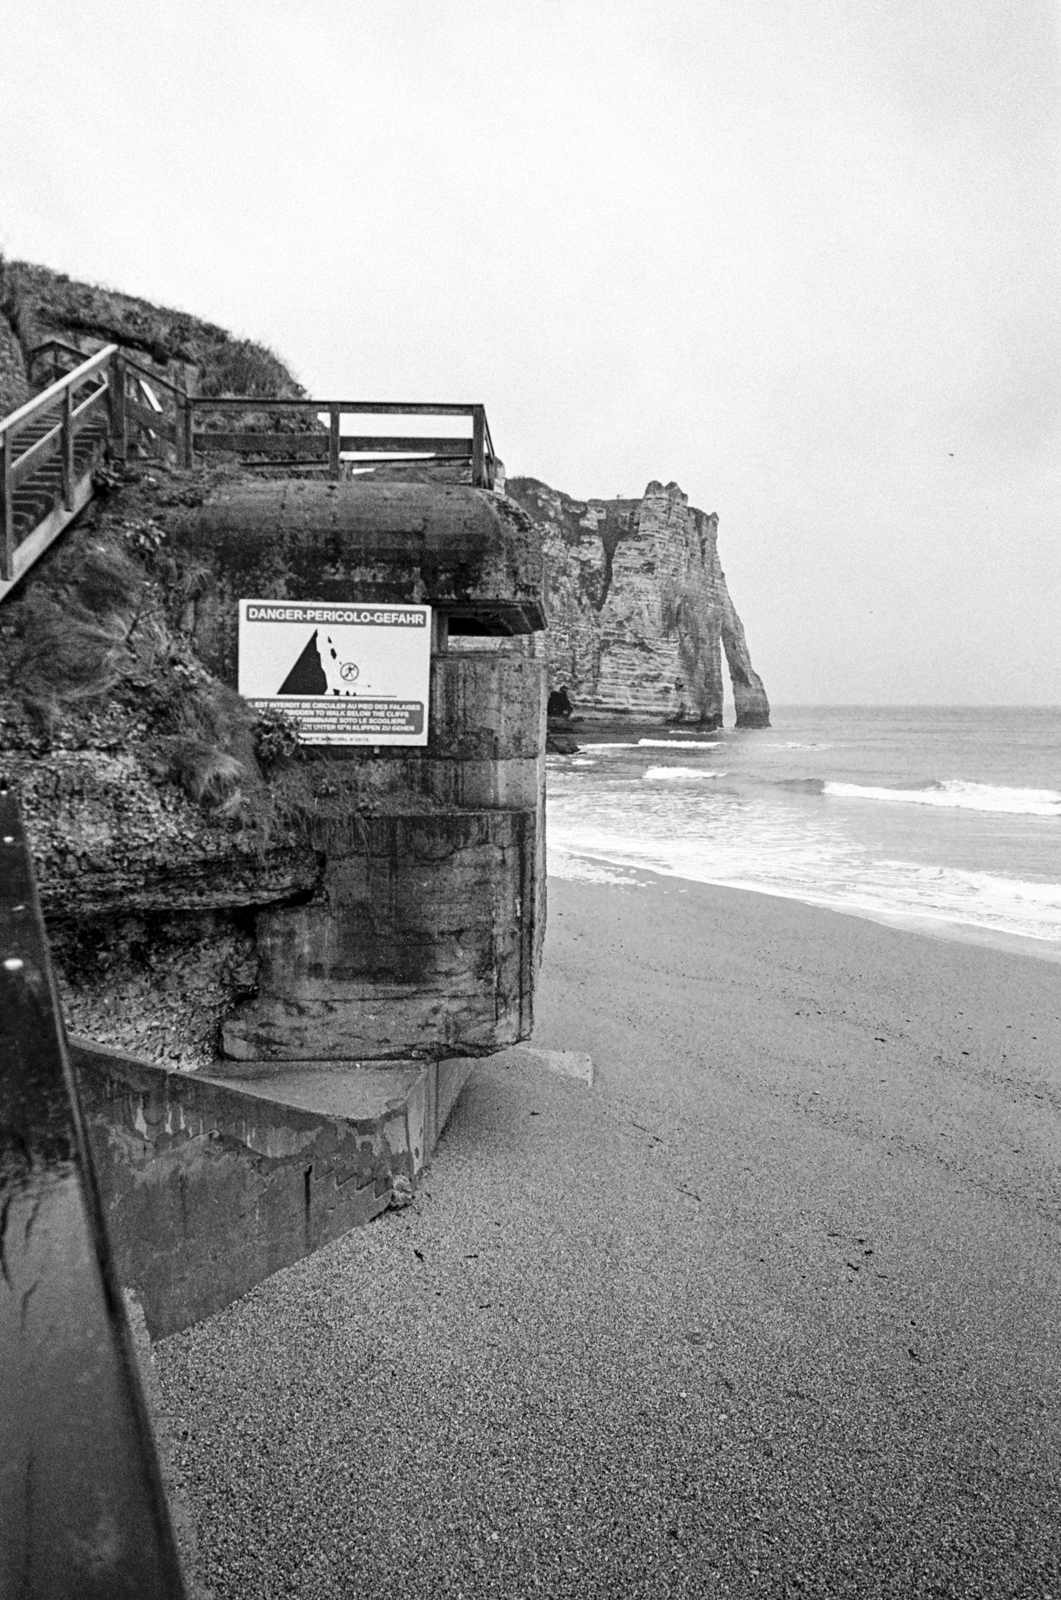
Just to be safe I also shot the above bunker in Etretat the day before, you can see the hollow needle.

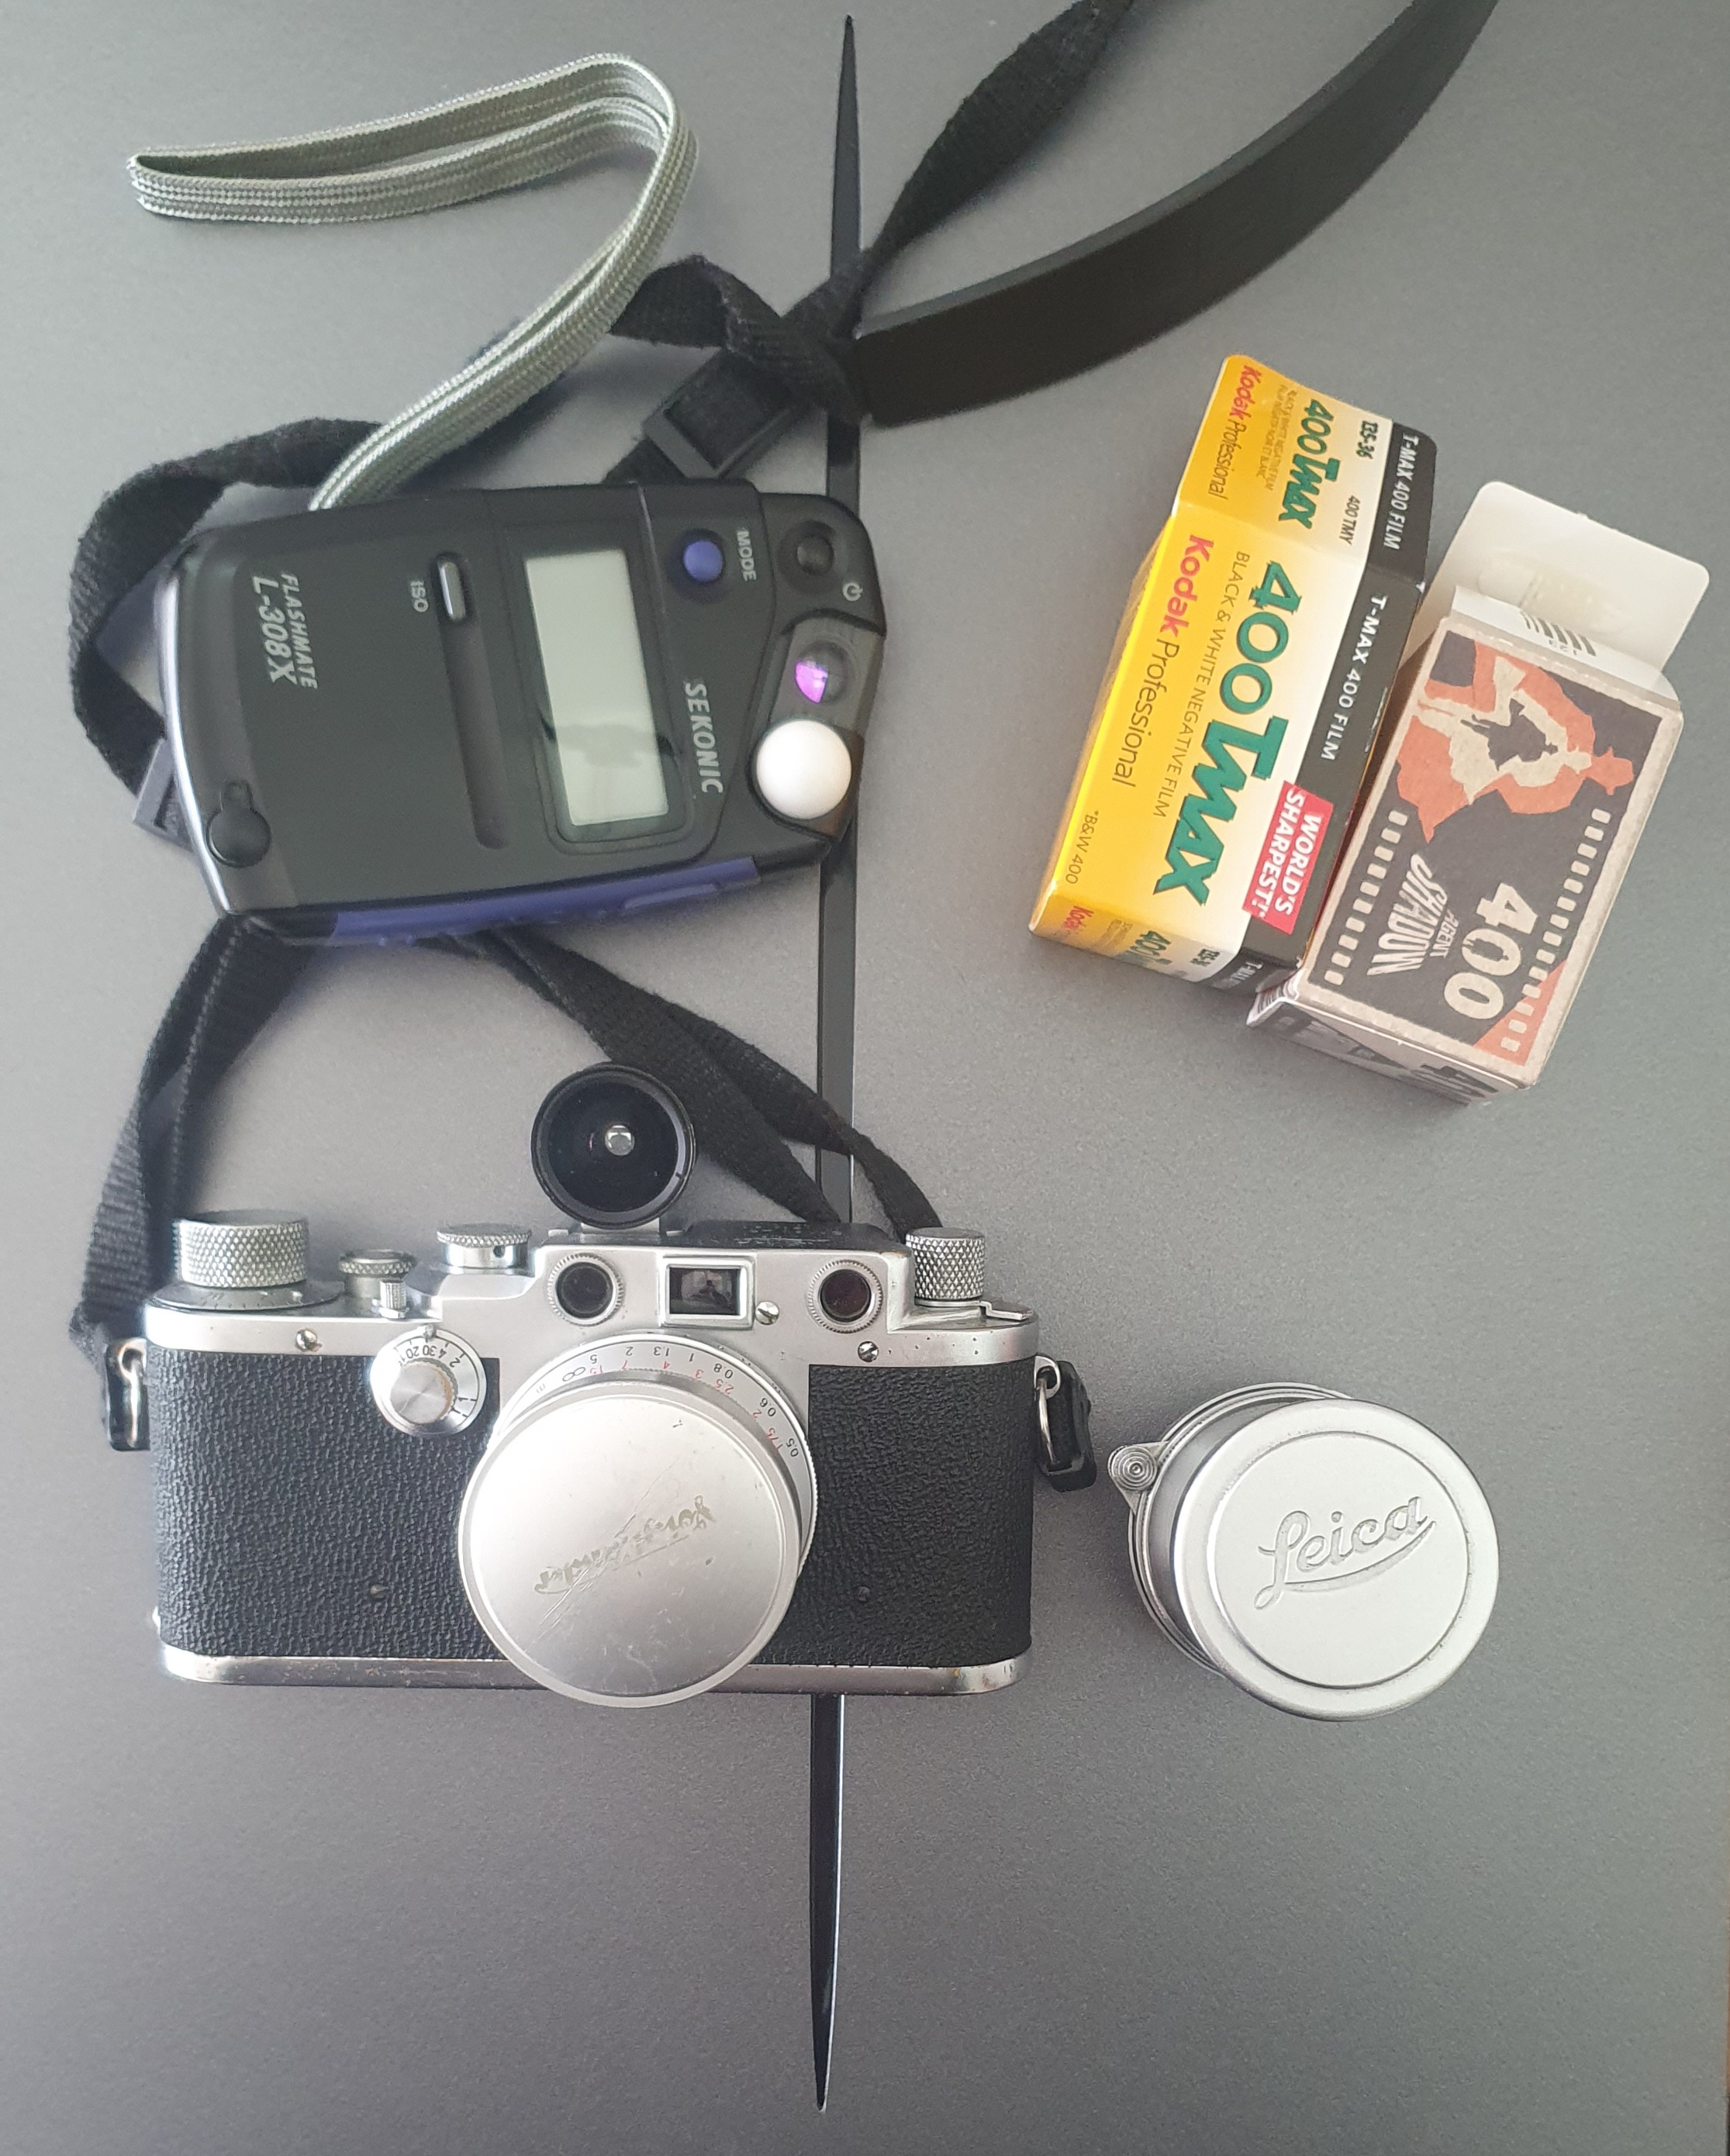
I found mildly interesting and border bad taste to visit the sites with my WWII area Leica. The body dates from the late 40’s but the Summitar 50mmF2.0 is definitely contemporary to the war. So I carried the Leica IIIC, the Summitar and the Voigtlander Color Skopar 21mmF4.0, with the Sekonic light meter. I intended to shot this subject with the Agent Shadow film, which gives a kind of more vintage look, but actually I finished the roll before reaching Normandy and I switched to the TMAX 400, crisp as usual.

If you haven’t watched it, I recommend watching The Longest Day the 1962 epic about D-Day.

D-Day trip with WWII area Leica

CAFFENOL Re-birth.

2020-19-iiic-24

7 years after my last failed experiments I am back again toying with Caffenol to process my black and white film. Do not try to figure out why I do not use standard methods, I cannot myself.

This time again I have put all the odds against me, I found a box of 5 year expired Fomapan P fixer in the cupboard, I shot the Caffenol unfriendly Kodak Tri-X on the Leica IIIc with the unreliable Summitar 50 and the new Chinese meter offered by a friend (more on this later).

2020-19-iiic-20

The set-up

From my past experiments I have a kitchen scale and a Patterson cuve, and some weights to hold the film when drying. (I just had to buy a 4$ battery for the scale)

Testing the fixer

20200711_124226

I found this idea on the internet to test the fixer by taking a piece of unexposed film, I cut the lead of a new roll found in the box, and drop it in the fixer (not the developer just right into the fixer) and let it sit a few minutes : it should go totally clear if the fixer still work as they should. Mine did so I should be covered from that angle.

I used in the past a recipe for stand development, but today I will try the Caffenol-C-M, recipe, the first on the http://caffenol.blogspot.com website.

2020-19-iiic-03

Testing the developer :

I planned to test the developer with one of the following two test cases, but actually after discussing with my assistant (my son), we decided that anyway we will not be able to resist trying the film whatever the result of the test is. Anyway here are the test cases:

  1. Test 1: once again I cut the leader of a roll and drop one into your developer and let it sit a few minutes then drop in your fixer and let it sit for a few minutes. It should turn all black.(as this part is generally over exposed), advantage is that you can use the lead of the roll you want to process.
  2. Test 2: use a piece of unexposed film, say, a few frames from the beginning of a fresh roll and make sure it’s loaded in the dark. Process as you should, you should see the frame numbers and DX codes along the sprocket holes develop and the unexposed frames should develop to be clear.


The process:

The chemicals:

20200714_174658

For one liter the recipe is to mix in order :

54 grams of washing-soda (Harm Brand 8$ for 1 kg)
16 grams of Vitamine C ( crap from Guardian 13$)
40 grams of instant coffee (Netscafe Classic 10$)

Time and temperature

This is the difficult bit, the original recipe gives 15 minutes at 20 °C for 100 ISO film. Digi

tal truth ( https://www.digitaltruth.com/devchart.php?doc=timetemp) helps converting this to my 28 deg average temperature for 6’44 @ 28 deg, for 100 ISO. ISO 400 should be shorter, but the same site gives you roughly the same duration. SO i settled for 7 minutes

Here we go

  • Pre-soak 5 minutes (this step is optional, but it is relaxing)
  • Pour the developer
  • Agitation first 30 seconds, then 3 times each minute.
  • Stop:

– Fill and invert the tank 5 times
– refill and invert the tank 10 times
– refill and invert the tank 20 times
– refill and invert the tank 30 times

  • Fix: 5 minutes
  • Rinse

– Fill and invert the tank 5 times
– refill and invert the tank 10 times
– refill and invert the tank 20 times
– refill and invert the tank 30 times with a drop of washing up soap

Results

  • the negatives are dense but images can be seen when back lighted and scanned with the Epson v800

20200713_16202720200713_162100

A few more samples

2020-19-iiic-05
Doggie goes for a walk

2020-19-iiic-28
Over the counter of the Japanese restaurant

2020-19-iiic-14
Hans Im Gluck birch trees

Where it goes wrong

The problem often reported for Caffenol is that the chemicals are not reliable, for instance, my coffee is a mix of Robusta and Arabica, where the active compound is more present in the robusta, so 100% robusta would be better. My Vitamin C contains sugar and flavoring which impact is hard to guess.

2020-19-iiic-32
Anything new?

Where to go from here

My film is over developed, so I already have some plans for the next roll : shorter time ( it was suggested to cut by 25%), or try the same recipe for a 100 ISO film, or cut the coffee.

2020-19-iiic-11
The ubiquitous Grab Food rider

Money wise

I can do 5 batches with my Vitamin C + coffee, with 2 films per batch. You probably have to factor in 0.5$ a roll for Fixer, 0.4$ for the soda, if you are discounting the water you will be around 3.5 to 4 $, definitely cheap. 5 rolls would cover the 7$ a roll I pay to the lab for processing, so if you like the result its worth trying.

2020-19-iiic-23
Kiss

CAFFENOL Re-birth.